
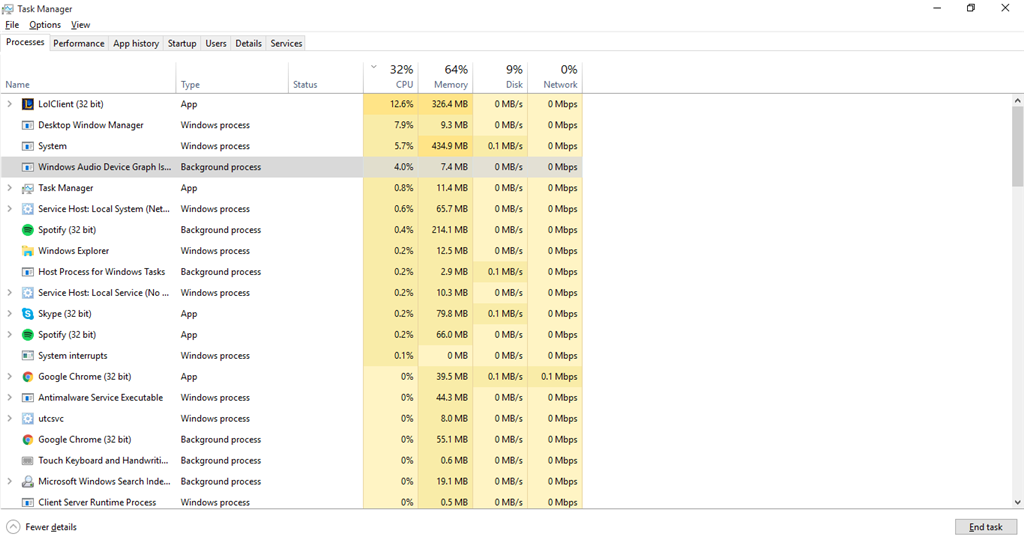
You must have noticed the process, ‘Windows Audio Device Graph Isolation’ while using the task manager on your Windows computer. Well, do you have any idea about it? Do you think it’s a virus? You should be informed that it consumes a lot of CPU memory. If you are looking for a solution to fix it, you are in the right place. In this short guide, we will tell you everything that you need to know about Windows Audio Device Graph Isolation. Not only that, but we will also provide you with the solution to fix it as well. Go through the guide provided below in order to get an idea about the problem and its the solution.
What is Windows Audio Device Graph Isolation?

To put it simply, the Windows Audio Device Graph Isolation is basically the base of the Windows audio engine. It is known to control the sound enhancement process of your Windows device. it is actually separated from the standard Windows audio service. This allows the developers to put their own audio effects in it without them having to touch the Windows audio service itself. However, the main problem is that many people are known to face a lot of issues due to the excessive use of the resources of the system which as a result uses too much of CPU memory.
Many users consider it to be a virus but then it’s not. It is just a module and not a virus. However, viruses are able to hack these type of processes easily. If you want assurance regarding whether the process is a virus or not then you need to find the location of the process’s file. In order to locate the file location you need to follow the steps given below:
- At first, right-click on the ‘Windows Audio Device Graph Isolation’’ from the task manager. Select the ‘open file location’ option that you will find there.
- The file will be found located in ‘C:\\Windows\System32’ by the default name Windows Audio Device Graph Isolation. However, in certain cases, it may also appear as AudioDG.exe.
- If you can locate the file in the default location then it is definitely not a virus.
Read More: Fix IDT High Definition Audio CODEC Driver Problem
Why does it consume so much of CPU memory?
Windows Audio Device Graph Isolation is not a virus if you find the file located in it’s desired folder. But then the main question here is that why does it still consume so much of CPU memory? Windows Audio Device Graph Isolation may stop working properly at times. This may happen due to poorly written audio enhancement drivers. This in return consumes more CPU memory. This may actually cause a number of problems in your device like the sound may stop or the system may even crash down, in the worst of cases. However, if you are looking for a way to fix it then we can provide you with the right solution. The fix to this problem is outlined below, let’s take a look at it
Fixing Windows Audio Device Graph Isolation Process
If you are looking for a way to solve this problem, you can take help from the steps provided below. For your convenience, we have provided more than one solution to it. it’s up to you which method you find more preferable. The steps are nicely elaborated so that you don’t face any trouble following it. All you need to do is follow the steps closely and do exactly what is mentioned below. Here you go with the solution.
Method 1: Fixing Windows Audio Device Graph Isolation By Disabling All Sound Effects
- At first, you need to right click on the speaker icon which is located in the Windows taskbar. You will find this icon at the bottom right of your computer’s screen. After right-clicking on the icon, you are required to click on Playback services.
- A new window will show on the screen. Click on the speakers and then go to properties. You will find the speaker option below the Playback tab.
- In the next window, you are required to click on the enhancements tab and then check the box ‘disable all sound effects.’
- Next, click ok.
- In case, if you don’t see this option in the box, navigate to the sound dialog box and then select the rest of the sound options like Microphone.
- After that, you can disable the sound effects.
This should help your problem. Follow each of the steps closely in order to solve the problem.
Method 2: Fixing Windows Audio Device Graph Isolation By Reinstalling The Audio Driver
- The first thing you need to do is press the Windows and the letter R together in order to launch the run dialog box.
- Once the run dialog box shows on the screen, type in devmgmt.msc in the given box and then click on ok. This will open the device manager. You can also open the device manager from your control panel.
- Now right click on your sound card device name after which a context menu will show up on the screen.
- In the next step, you are required to click on uninstall.
- Now confirm the uninstallation by clicking on the ‘delete the driver software for this device.’
- Click on ok and then run the uninstallation process.
- Once the process is completed, now restart your computer and see the changes take effect.
This is more of a convenient method. If you find difficulties with the first method then you can follow this method to solve the problem.
Now that you know the two most effective methods of solving the Windows Audio Device Graph Isolation problem, hopefully, you will be able to take care of it. The steps mentioned above are really easy to follow so you shouldn’t have any problem following it. There are other alternative methods as well. However, these two methods are considered to be the most effective one.