
Whether you have recently stepped into the photography world or are a seasoned photographer, you must be aware of Long-Exposure photos. It is often considered among the most beautiful shots, allowing you to see the world from an entirely different perspective.
And the best part, capturing Long-Exposure photos isn’t as tricky as it may sound, especially to new photographers. Once you know where to find the settings and how to set an angle, you can easily master this artistic photography technique. It may look fancy and seem out of your reach from an Android smartphone, but the reality is quite different from these presumptions.
So, are you ready to take traditional photography to the next level? Continue scrolling, and the guide will walk you through the step-by-step instructions to click Long-Exposure photos on Android. What are you waiting for? Grab your mobile device and read on.
Long-Exposure Photography – What is it & How to Start?
First thing first!! Before we jump into the settings and instructions to capture Long-Exposure shots on Android, it’s good to understand the concept from scratch for a better idea.
Long-Exposure photography is the name given to the technique in which the shutter is left open for a lengthy period of time. It’s done, so a final image captures the movement of objects in front of the camera while reflecting still elements razor-sharp.
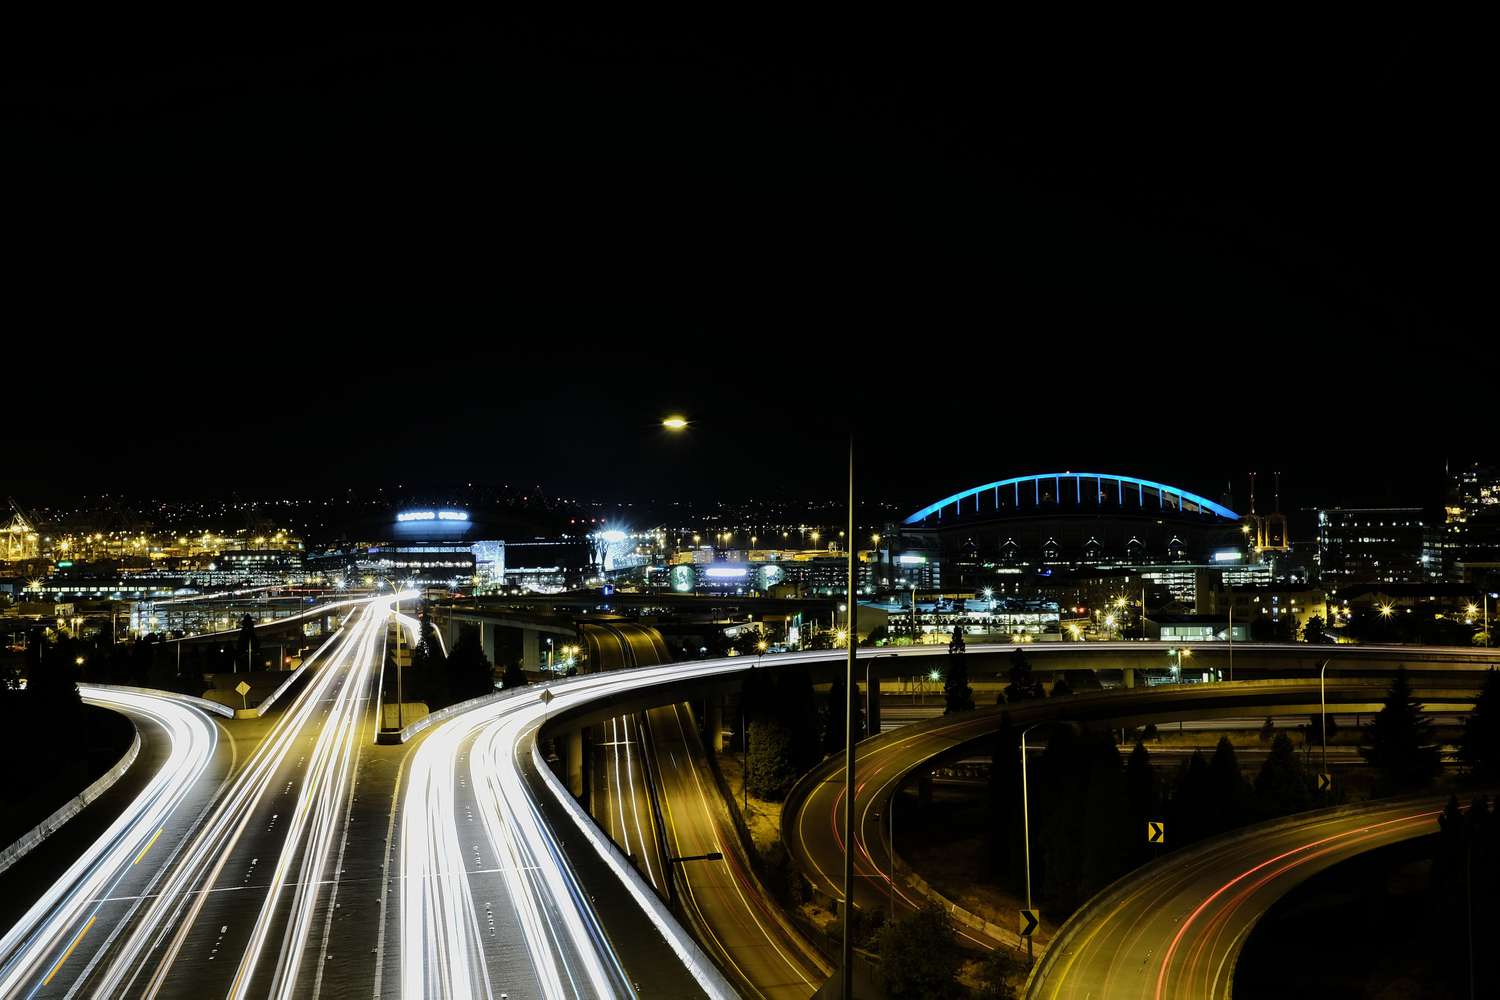
This technique, also popular as time-lapse, is generally used to show the effect of passing the time in a scene. Long-Exposure photography adds to your artistic flair while taking your traditional skills to the next level. Since it is a creative approach, you must think about the best location, like moving water or a traffic trail, to come up with a stunning outcome.
Speaking of how you should prepare for such a shot, then it’s also really simple and straightforward.
- Look for inspiration and see what others are doing to envision the shots you could capture.
- Once done, select the location. Make sure to pick the picture-perfect place, as the background plays a major role in the image.
- Keep a weather check to ensure that any sudden change in it won’t block any view or impact the final shot.
- Get your device ready. Traditionally, long-exposure photos could be captured on DSLRs or high-end mirrorless cameras. But thanks to modern technology, it has now become possible on your Android smartphones as well. Mobiles have a digital shutter that allows you to increase or decrease the shutter speed when taking photos. Hence, get your device ready and pack the gear, and start capturing these one-of-a-kind shots.
How to Capture Long-Exposure Shots on Android?
Long-exposure photography is all about adjusting the shutter speed. Hence, once you know how to increase or decrease the shutter speed of Android, you can easily make other arrangements to click Long-Exposure photos.
So, are you ready to ditch some of the traditional settings and make the new one? Here’s the step-by-step guide to doing so. Carry out the instructions carefully, and get it done in a few simple taps.
1. Select the Pro Mode
- Open the “Camera” app on your Android, and click on the “Pro” option. Now, the location of this Pro option depends on your smartphone model. For example, if you are using Samsung Galaxy, then you need to click the “More” tab and then find the Pro camera option. It might be possible that you’ll find the same on the main Camera page itself.
2. Adjust the Shutter Speed
- Once you select the Pro mode, the settings menu will start appearing on the screen. The option we are interested in is “Speed.” Shutter Speed is often indicated as a fraction, like 1/30, or a solid number. It mainly refers to how long the shutter is open. For instance, 1/30 refers to the 1/30th of a second, and 4 refers to simply 4 seconds.
- To adjust the speed, click on the option and use your finger to slide the dial. Now, the exact often varies from one location or landscape to another. Hence, keep experimenting with different speeds to find the sweet spot for your situation. However, anything more than 1/30 will be slower than a regular photo.
3. Tap the Shutter Button
- As soon as you are done changing the shutter speed, it’s time to click the Shutter button when capturing a shot. And that concludes the process.
Conclusion
Capturing Long-Exposure shots isn’t rocket science, and you don’t have to take extra classes to learn this technique. It’s all about having the right equipment and knowing the basics to get started. But once you do, you can easily master this technique, and the results will be awe-inspiring.
Also, before you start capturing these shots, make sure to adjust other settings as well, like mode, file type, aperture, etc., depending on the location to get the best outcome. Having a query? Connect with us in the comments below and our experts will resolve it in a matter of seconds.