
As we see that technology is changing day by day, the craze of using tech gadgets has been increased and now people can use the Android app on PC with the help of Bluestacks 4. Yes, you heard it right! Since Android’s Google Play Store contains thousands of games, app, and more, most of the PC users are using Bluestacks 4 to get all Android stuff on PC. But sometimes you need to root Bluestacks on your windows computer.
Just like you root our Android phone to do personalize your device by customizing a lot of stuff, you also have to root Bluestacks to get better control of the emulator. So, here we have explained a full tutorial to root Bluestacks 4/3/3N on your Windows computer. If you have previously rooted your Android device, then you may have heard of Kingroot which is one of the best ways to root any device. So here we are gonna show you how to root Bluestacks 4/3 with kingroot.
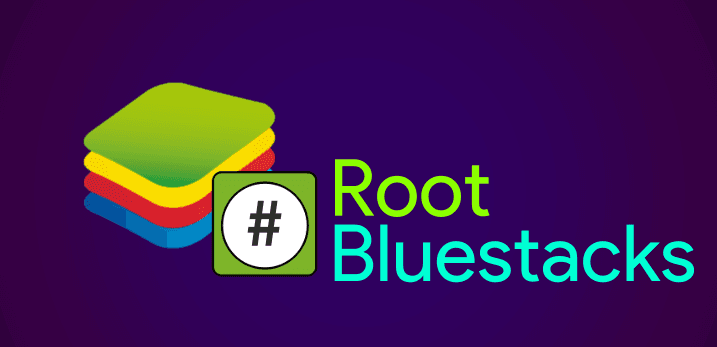
How To Root Bluestacks 4/3/2 With Kingroot
As Kingroot well known for it one-click rooting function, so here we will also share the guide to use Kingroot Bluestacks root method. Let’s check out:
Before heading to the process of rooting Bluestacks with Kingroot, you should make sure that you have a proper internet connection.
Step #1: Open Kingroot APK file on your Bluestacks emulator.
Step #2: Next, open the app and you will see the message “root status error: fix” or “device is not root yet”. It means your device is not rooted yet.
Step #3: So here you need to click on the “Try root” button and then the installation process starts with the Su Binary in your Bluestacks.
Step #4: Now wait for a few seconds to get the rooting process done.
Step #5: Once it’s done, then you need to reboot your Bluestacks emulator.
That’s it! So, this was the safest and simplest method to root Bluestacks emulator on PC. Well, if you don’t prefer using a kingroot to root Bluestacks, then you can go through the below method to root Bluestacks with BS tweaker. Just like Kingroot, the BS tweaker is also the secured and easier method to get Bluestacks rooted.
How To Root Bluestacks 4/3/2 With BS tweaker
Step #1: First of all, download Download BlueStacks Tweaker 5 and extract the downloaded BS Tweaker 5.
Step #2: Next, open BlueStacks Tweaker.exe and start BlueStacks from the Main tab.
Step #3: Wait to get it done and then go to the Helpers tab in BS Tweaker and you will notice Root for BlueStacks option.
Step #4: Now click on Patch and the BlueStacks is rooted; now you need to install SuperSu 2.79
Step #5: If you do not get Patch option there may be Unlock option. So Full Stop BS from Main and Unlock then again start the BlueStacks and Patch for root.
Step #6: Now go to BlueStacks and click on Install apk (right bottom in BS 3) to manually install SuperSU. Install Supersuer.apk you extracted.
Note: (we are installing SuperSU 2.79 because latest SuperSU from play store is not working)
Step #7: Once you installation is done, open SuperSU and select Expert user when asked. Then it will ask to update the SuperSU binary, so just choose to continue and select the Normal mode. After updating binary su click on ok (reboot will not work since it is not an android mobile).
Step #8: Now your BlueStacks is completely rooted.
Once the rooting process is done and you want to verify whether your BlueStacks rooted or not, then you can install the Root Checker App to check the rooting status of BlueStacks. You will just need to install the app on your BlueStacks emulator and then click the “verify root access” option button to confirm BlueStacks root. After clicking “verify root access”, you will ask to “Grant” option and then finally you will see “Congratulation! This device has root access”. That’s it!
Conclusion
So, hope you checked both methods to root BlueStacks. Let us know which method you are going to follow. You can also ask any question related to the BlueStacks world regarding installing and using, we are happy to help you 24/7. Just comment below without any hesitation.