
When it comes to Android smartphones, one of the best things about it is the ability to customize and personalize certain aspects of the device. With regards to this, one feature that one needs to be aware of is the Android action bar.
Despite the uniqueness of this feature, not many users are aware of what it is and the kind of functionalities it comes with. Technically, the primary function of this feature is to provide a visual structure to the app.
If you have been wondering what an Android action bar is and how you can customize it, we have sorted out all the relevant information in this guide.
What is an Android Action Bar?
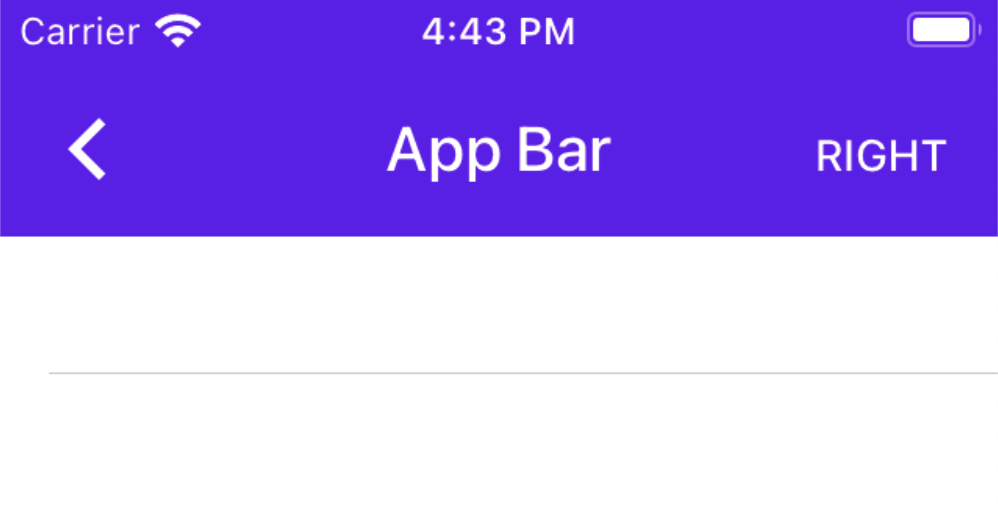
An Android Action Bar is a horizontal bar that appears at the top of most Android activities. It provides a consistent user interface for common actions, such as navigation, search, and sharing. The Action Bar can also be used to display the app’s title, logo, and other branding elements.
The components that make up the Android action bar include:
- App icon: Displays the app’s branding logo or icon.
- App title: Displays the name of the current activity.
- Navigation buttons: Provides buttons for common navigation actions, such as going back to the previous activity or opening the navigation drawer.
- Action buttons: Provides buttons for other common actions, such as search, share, and refresh.
- Overflow menu: Contains actions that are not displayed in the Action Bar by default.
What’s great is that developers can make a lot of use of the Action bar to meet the specific needs that are associated with their app. One such example is adding or removing certain buttons, changing the order of the buttons, etc.
What are some Benefits of the Android Action Bar?
Now that you have a basic understanding of what an Android action bar is and what it is used for, the following are some of the benefits worth highlighting:
- The Action Bar provides a consistent user interface for common actions, which makes it easier for users to learn and use your app.
- It is customizable, so you can tailor it to meet the specific needs of your app.
- It is designed to be easy to use, with large buttons and clear labels.
- It is accessible to users with disabilities, such as those who use screen readers or voice commands.
How to Design a Custom Action Bar?
If this is your first time being familiarized with the Android action bar and you are confused about how to customize it, the following are the steps you need to follow:
- There is a default action bar that’s already available for each Android app, so familiarize yourself with those first.
- Next, create a new directory and the design items that are integral to the Action bar.
- For providing an icon to the action bar, right-click on the res folder, tap on new, and then select from the list of Image assets.
- Depending on the specific requirements, users can go ahead and customize things according to the involved operations.
- Under the style.xml file in the res folder, the users can change the colors of the icons in the action bar too.
These are just a few different ways to change and customize the Android action bar for smooth operations. How you change things will entirely depend on the intent of your app.
Conclusion
This pretty much explains everything that you need to know about the Android action bar, its features and elements, and the different ways you can customize it to better meet your requirements as a developer. Ensure that you learn the evolving features and functions for better understanding.