An electric linear actuator is a drive that allows you to perform a movement along a line. There are dozens of different ways you can implement it into your project, and generally, it is very easy to do. Every actuator comes with a data sheet that contains everything you need to know to correctly wire it. However, if you don’t have a lot of experience in this field, the procedure could seem intimidating. Don’t be scared: here are 3 easy steps you have to follow to be able to use your linear actuator to its full potential. Note that the instruction is made for the simplest case: 12V actuator (the most common one) and a plain rocker switch you can find anywhere.
1. Prepare the components
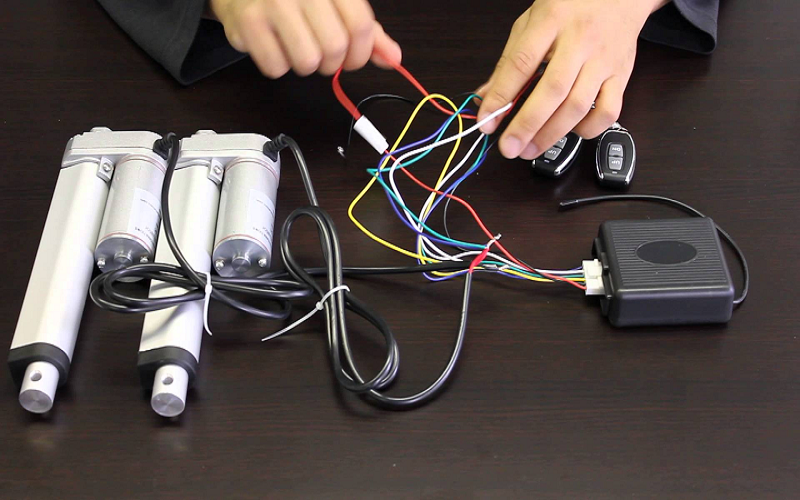
You don’t actually have to do much to complete this step. However, it is still important and should not be overlooked. The components you need are:
- A linear actuator (obviously);
- A battery (either a 12V battery, like one used in a car, or an array of batteries with low voltage, hooked up consecutively);
- A rocker switch (or some other kind of switch you need for your project);
- A set of wires (at least four, depending on the kind of switch you’ve chosen).
The preparation stage includes cutting the wires to an appropriate length and clearing their ends. Of course, you shouldn’t make them too short, but cutting them too long is not a good idea either. Extra length of wire can be an obstacle for the actuator’s movement.
2. Connect the actuator to the switch
Every switch, as well as every linear actuator, has a set of connectors. Actuators are usually equipped with two, and in order for the device to work, they should be connected to the positive and negative terminals of the battery. It isn’t important to know when you connect an actuator to a switch, but it becomes important later, when you connect the battery to the same switch. Depending on the switch, the connectors you wire the actuator to are matched with another pair of connectors.
3. Connect the battery to the switch
Although you should be careful about wiring separate battery ends to separate switch connectors, there probably won’t be any consequences if you make a mistake. Most linear actuators are equipped with fuses to prevent short-circuiting and wrong directions of current. However, if you mix up the polarity, the switch will probably launch the drive in a wrong direction. Don’t worry, simple rewiring will solve this problem.
All in all, wiring an actuator is pretty easy, especially if you have a good, fool-proof linear drive. Stop by Progressive Automations to find an excellent linear actuator for your every need.