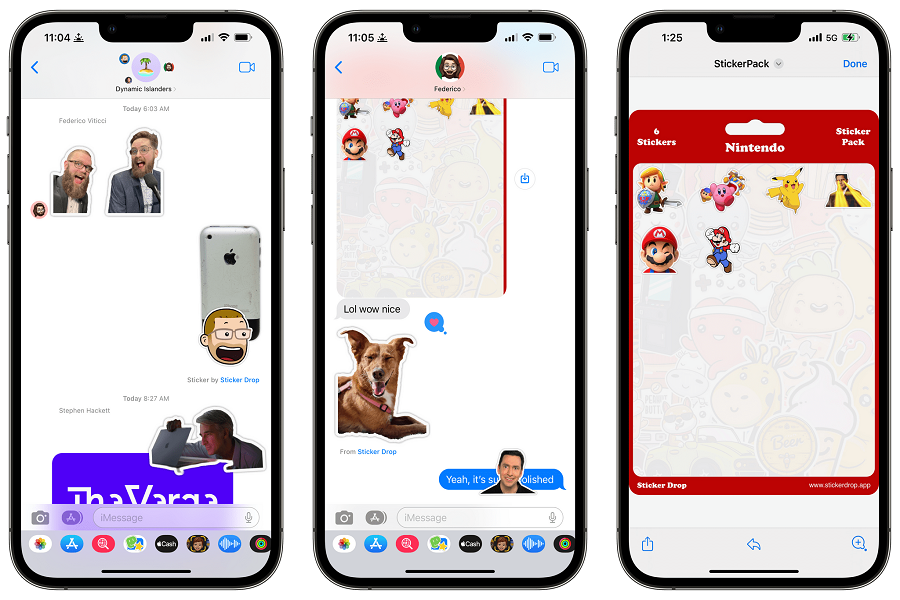
It’s no secret that iOS apps are always exciting and amusing, and iOS 16 is no exception. It has brought along various changes to make your phone look visually appealing. One such feature that has created hype among iOS users is the ability to create stickers from photos.
Carrying out this task isn’t just simple but gives better opportunities to communicate with your family and friends in a fun way. So, are you ready to make the most out of this feature? Scroll down the page and find the step-by-step guide on how to make stickers on iOS 16.
Benefits of Using Stickers In Communication
Before we jump into creating stickers from photos on iOS 16, let’s find out why people often prefer stickers when communicating with their family and friends.
Stickers are a great way to communicate. They’re eye-catching and fun and can help you get your message across in various settings. There are many benefits to using stickers in communication. They can help capture attention, deliver a quick message, and build relationships.
Let’s explore the benefits of using stickers in communication and how they can help you get your message across.
- Stickers are a great way to communicate with family and friends. They help you to express your thoughts and feelings without having to say a word. If you have trouble communicating your thoughts and feelings, stickers can be a great way to do so.
- It is a great way to show your personality. You can choose from various stickers to find the perfect one that represents you.
- tickers add fun and excitement to your communication. They can help break the ice and make conversations more enjoyable.
- Stickers can also help add some levity to difficult conversations. Adding a sticker can lighten the mood and make the conversation more bearable, especially if you’re talking about something serious.
A step-by-step guide to making stickers on iOS 16
If you are curious to know how to make stickers on iOS 16, you have landed at the rightmost page to find the same. All you have to do is follow the instructions mentioned below and complete it in the least possible time.
The best part about this feature is that you won’t have to pay for any subscription or face any clutter to complete the task. Shall we proceed? Use the guide religiously to avoid any hassle later on.
- Launch the Photos app on your iPhone and open the photo you want to work with.
- Now, go to the Share icon in the bottom left corner. Then, click the “Save to Files” button and exit the Photos app.
- Next, open the Files app on your mobile and go to Photos.
- Tap and hold the photo you want to work with. A Menu bar will appear on the screen from where you have to select the “Quick Actions” option.
- Select the Remove Background button.
- As soon as you remove the background, a transparent photo will be created, and you are done.
- Send this photo to your family and friends as a sticker and make conversions more enjoyable.
Conclusion
That’s it, folks. Do you like our homework? Feel free to share your feedback with us in the comment section below, as we would love to hear from you. Converting stickers from photos on iOS 16 is not rocket science, and you can easily carry out the process with ease.
So, what’s keep you waiting for now? Try out the process mentioned above and add a thrill to your communication. For more such guides, keep visiting the page regularly.

