
Here’s the guide that How to Install Language Pack in Windows 7 Home Premium using Vistalizator.
The main advantages of having Windows 7 Enterprise and Ultimate editions is that it supports to installing Language Interface Packs. so that we will change the language that Windows uses to display text in menus, wizards, windows and other items.
The most powerful language interface packs can now be installed on Home Premium edition as well with the help of a third-party efficacy named Vistalizator.
How To Install Language Pack In Windows 7 Home Premium
Here’s the step that easies to download and install Language Pack In Windows 7 Home Premium.
Step 1: Download Vistalizator and also your language interface pack from here.
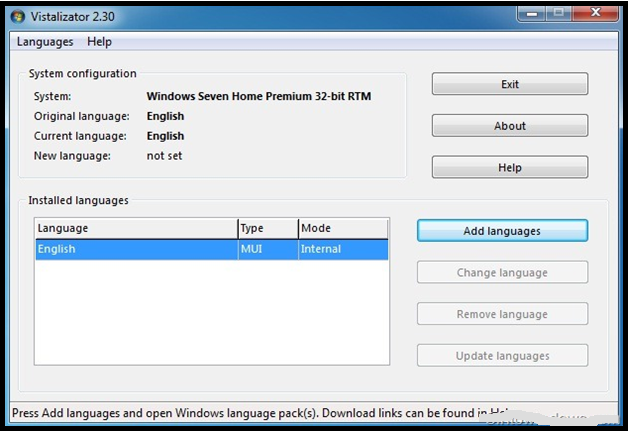
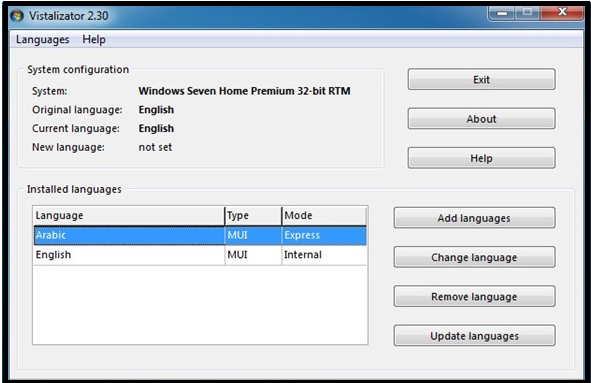
Step 2: Now you want to Run Vistalizator (doesn’t require installation) to see the main screen of the application. Here you can see your Windows 7 edition and the default OS language.
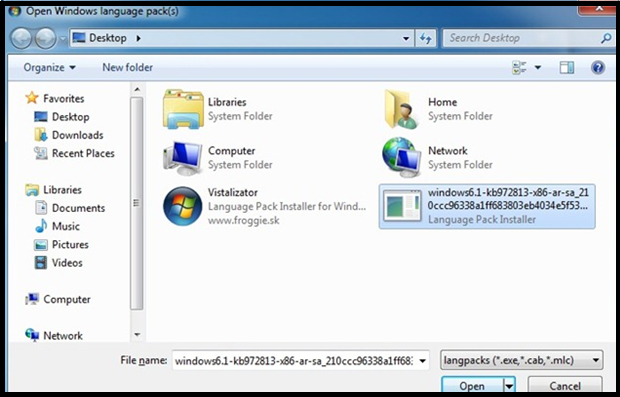
Step 3: And Just Click Add languages button and browse to the language pack that you have downloaded in the first step and click Open to start installing the language pack. If you see any warnings, simply click Ok.
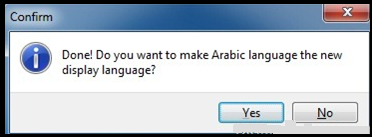
Step 4: After the language pack is installed, you will be given the option to set the new language as the active one.
Step 5: To switch between current and default languages, run Vistalizator, select the language and click Change language button.
Please note that Vistalizator doesn’t work Windows 7 Release Candidate build.